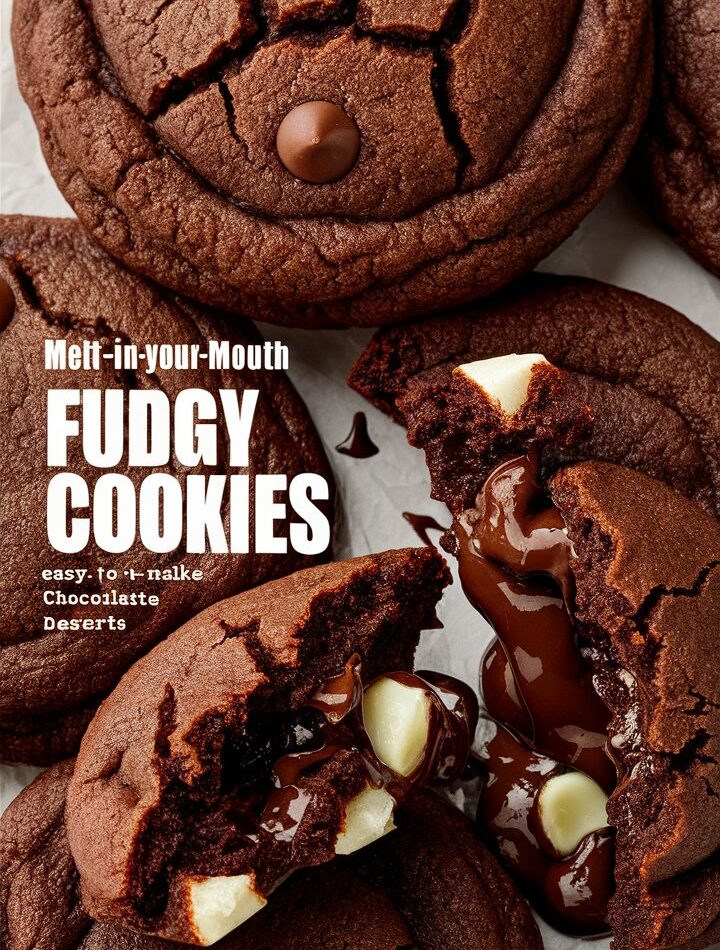
If there’s one dessert that never fails to bring people together, it’s the humble brownie. But not just any brownie—we’re talking about the perfect classic fudgy brownie. Rich in chocolate flavor, gooey in the center, slightly chewy at the edges, and simple enough for beginner bakers to master, this recipe is the kind of staple that turns an ordinary day into a celebration. Whether you’re baking for a potluck, a cozy night in, or just because you need chocolate therapy (we’ve all been there), these fudgy brownies are your go-to indulgence.
In this detailed guide, we’ll walk through everything you need to know about making the best fudgy brownies from scratch, including expert baking tips, storage hacks, flavor variations, and answers to frequently asked questions. You won’t find keyword stuffing, artificial writing, or irrelevant fluff here—just pure, delicious value and helpful content. So grab your whisk, preheat the oven, and let’s dive into dessert bliss.
2) 🍫 Why These Brownies Are a Must-Bake
You’ve probably seen hundreds of brownie recipes online—some too cakey, others too dense. But this one hits the sweet spot. It delivers:
- Glossy tops, like bakery-style brownies.
- A gooey middle that melts in your mouth.
- Chewy edges that satisfy every texture lover.
- Deep, bold chocolate flavor using simple ingredients.
This brownie recipe doesn’t rely on fancy ingredients, expensive chocolate bars, or complicated baking steps. You don’t even need a mixer—just a saucepan, a spatula, and some love for chocolate. And the best part? You’re in full control. Make them extra gooey or a bit firmer, toss in nuts or swirl with peanut butter—this is the brownie blueprint you’ll return to again and again.
3) 📝 Ingredients for Classic Fudgy Brownies
Each ingredient in this recipe plays a key role in creating the ideal texture and flavor. Here’s what you’ll need:
Core Ingredients:
- ½ cup (1 stick) unsalted butter – melted and slightly cooled
- 1 cup granulated sugar – adds sweetness and helps form that crackly top
- 2 large eggs – give structure and richness
- 1 teaspoon vanilla extract – enhances the chocolate flavor
- ⅓ cup unsweetened cocoa powder – use high-quality for bold flavor
- ½ cup all-purpose flour – just enough to bind without making them cakey
- ¼ teaspoon salt – balances and deepens the cocoa flavor
- ¼ teaspoon baking powder – optional, for slight lift (not too cakey)
Optional Add-Ins:
- ½ cup chocolate chips or chunks
- ½ cup chopped walnuts or pecans
- Swirl of peanut butter or caramel on top
4) 👩🍳 Step-by-Step Instructions
Step 1: Prep Your Pan and Oven
Preheat your oven to 350°F (175°C). Grease an 8×8-inch baking pan or line it with parchment paper. Parchment makes cleanup easy and helps lift the brownies out effortlessly.
Step 2: Melt the Butter
In a medium saucepan over low heat, melt the butter. Once fully melted, remove from heat and let it cool slightly for about 2 minutes.
Step 3: Mix in Sugar and Eggs
Whisk in the granulated sugar directly into the warm butter. Then add the eggs one at a time, whisking well after each. The mixture should turn glossy and thick. Stir in the vanilla extract.
Step 4: Add Cocoa Powder
Sift the cocoa powder over the mixture and stir until well incorporated. This step ensures there are no cocoa clumps and helps the batter stay smooth.
Step 5: Fold in Dry Ingredients
Add the flour, salt, and baking powder. Use a spatula, not a whisk, to gently fold the mixture until just combined. Do not overmix—this is key to a fudgy texture.
Step 6: Pour and Bake
Spread the batter evenly into the prepared pan. Smooth the top with a spatula. Bake for 30 to 35 minutes, depending on your preferred level of gooeyness. Check with a toothpick—it should come out with a few moist crumbs but no wet batter.
Step 7: Cool and Slice
Let the brownies cool completely in the pan before slicing. This helps the texture set properly and makes for cleaner cuts.
5) 🔧 Tips for Perfect Brownies Every Time
- Use room temperature eggs for smoother blending.
- Don’t overbake – pull them out just as the center sets.
- Cool completely before slicing to avoid messy edges.
- Add a pinch of espresso powder to enhance the chocolate depth (optional).
- Swap butter with browned butter for a nutty undertone.
6) 🍪 Flavor Variations to Try
- Triple Chocolate Brownies: Add a mix of dark, milk, and white chocolate chips.
- Nutty Brownies: Fold in toasted pecans or walnuts.
- Salted Caramel Swirl: Drizzle caramel sauce over the top before baking and finish with sea salt.
- Peanut Butter Lover’s Dream: Swirl ¼ cup creamy peanut butter on top.
- Mocha Twist: Add 1 teaspoon of instant espresso powder for a coffee-chocolate hit.
7) ❄️ Make-Ahead and Freezing Instructions
Brownies are a dream for prep-ahead desserts. Here’s how to keep them fresh:
- Make-ahead: Bake up to 2 days in advance. Store at room temperature in an airtight container.
- Freeze: Slice cooled brownies and wrap individually in parchment, then place in a freezer-safe zip bag. Freeze for up to 3 months. Thaw at room temperature or microwave for 20–30 seconds for a warm treat.
8) 🗃️ How to Store Leftovers
- Room Temp: Keep in an airtight container for 3–4 days.
- Refrigerate: Lasts up to 1 week. Let them come to room temp before eating for best flavor.
- Microwave Reheat: 10–15 seconds makes them gooey again.
Pro tip: Add a slice of white bread in the container to keep brownies moist for longer!
9) 🍦 Pairing Ideas
These brownies shine solo, but here are ideas to level them up:
- Scoop of vanilla bean ice cream
- Drizzle of melted chocolate or Nutella
- Dollop of whipped cream and fresh strawberries
- Glass of cold milk, hot coffee, or red wine
10) 📊 Nutrition Facts (Per Serving – 1 of 9 Squares)
- Calories: 210
- Total Fat: 10g
- Saturated Fat: 6g
- Carbohydrates: 30g
- Sugar: 22g
- Protein: 3g
- Cholesterol: 45mg
- Fiber: 2g
- Sodium: 90mg
For a lower-calorie option, reduce sugar to ¾ cup or substitute with monk fruit sweetener.
11) ❓ Frequently Asked Questions
Q: Can I use oil instead of butter?
Yes, but the flavor won’t be as rich. Butter gives these brownies their classic taste and crackly top.
Q: How do I know when brownies are done?
Insert a toothpick in the center—it should come out with moist crumbs, not wet batter.
Q: Can I double the recipe?
Yes! Use a 9×13-inch pan and adjust baking time to 35–40 minutes.
Q: Are these gluten-free?
Not as written, but you can substitute a 1:1 gluten-free flour blend for the all-purpose flour.
12) 🍰 More Easy Dessert Ideas
Looking to build your dessert rotation? Try these next:
- Iced Oatmeal Cookie Bars
- Strawberry Danish with Cream Cheese
- No-Bake Chocolate Eclair Cake
- Chewy Brown Sugar Cookies
- Creamy Yogurt Cake (3 Ingredients)
13) 🧾 Final Thoughts
There’s something timeless about a pan of warm, fudgy brownies. They’re simple, comforting, and endlessly customizable. Whether you’re a seasoned baker or trying these for the first time, this recipe guarantees success. Every bite brings a blend of comfort and decadence—and best of all, you don’t need special ingredients or tools to make it happen.
So next time you’re searching for an easy dessert that’s guaranteed to impress, skip the boxed mix and whip up these classic fudgy brownies. One batch and you’ll understand why this recipe is a keeper for life.


