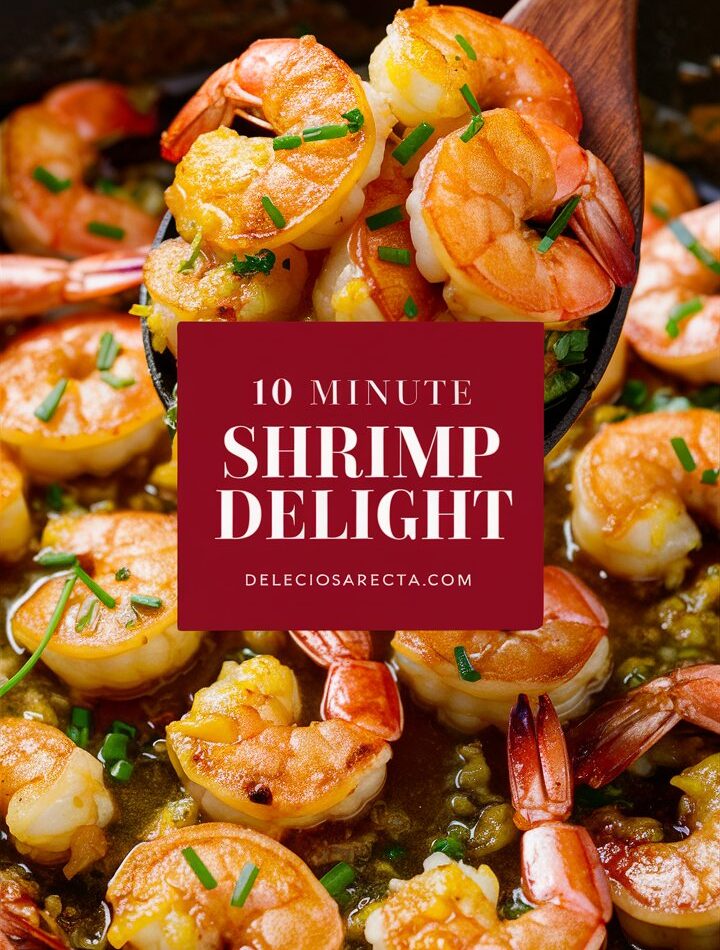
If there were an award for “most impressive dinner you can make in under 10 minutes,” this 10 Minute Honey Garlic Shrimp would win every time.
Tender shrimp sizzle in a skillet, releasing that irresistible aroma of fresh garlic before being coated in a glossy honey glaze with the perfect balance of sweet and savory.
It’s one of those recipes that looks like you spent an hour in the kitchen—but in reality, you can whip it up while your rice or noodles are still cooking.
Whether you’re a beginner cook or a seasoned home chef, this recipe delivers maximum flavor with minimal effort. It’s versatile enough for busy weeknights, yet impressive enough for date night or a last-minute dinner party.
Let’s dive in and see why this shrimp recipe is about to become your new go-to.
Why This Honey Garlic Shrimp is Special
While there are dozens of honey garlic shrimp recipes online, this one stands out because:
- Speed Meets Flavor – Truly done in 10 minutes, no unrealistic prep time.
- Balanced Taste – Not overly sweet or salty, with just a hint of citrus brightness.
- Adaptable – Works over rice, pasta, salad, or even in tacos.
- Healthy Option – Lean protein, heart-friendly olive oil, and minimal sugar.
- Crowd-Pleaser – Loved by kids, adults, and picky eaters alike.
Ingredients – What You’ll Need & Why
Let’s break down each ingredient so you know exactly why it’s there and how to choose the best version.
Shrimp
- Amount: 1 lb large shrimp, peeled and deveined.
- Why: Shrimp cook quickly, absorb flavors easily, and deliver a soft yet slightly springy texture.
- Selection tip: Choose wild-caught for the best taste. If using frozen, thaw overnight in the fridge.
Olive Oil
- Amount: 2 tablespoons.
- Why: Gives the shrimp a rich, smooth sear without overpowering flavors.
- Pro tip: Use extra virgin for a slightly fruity aroma.
Garlic
- Amount: 4 cloves, minced.
- Why: Garlic is the backbone of this recipe’s savory depth.
- Tip: Fresh garlic trumps jarred for flavor.
Honey
- Amount: 3 tablespoons.
- Why: Creates that irresistible sticky glaze and natural sweetness.
- Substitute: Maple syrup or agave nectar for a different profile.
Soy Sauce
- Amount: 2 tablespoons, low sodium.
- Why: Balances the sweetness with salty umami depth.
- Substitute: Coconut aminos for a soy-free version.
Lemon Juice
- Amount: 1 tablespoon, freshly squeezed.
- Why: Adds brightness and prevents the sauce from becoming too heavy.
- Substitute: Rice vinegar or lime juice for variation.
Crushed Red Pepper Flakes (Optional)
- Amount: ½ teaspoon.
- Why: Adds subtle heat to balance the sweetness.
- Adjust: Add more for spice lovers.
Salt & Pepper
- To taste. Seasoning brings all the flavors together.
Fresh Parsley
- For garnish. Adds a fresh herbal note and bright color.
Tools You’ll Need
This is a low-equipment recipe, but a few basics will make the process smoother:
- Large Skillet or Frying Pan – Nonstick or stainless steel.
- Spatula or Tongs – For quick flipping.
- Small Mixing Bowl – For sauce preparation.
- Measuring Spoons – To keep the balance of flavors just right.
Step-by-Step Instructions – From Pan to Plate in 10 Minutes
Step 1: Prep the Shrimp
If not already done, peel and devein the shrimp. Pat them dry with a paper towel—moisture prevents a good sear.
Step 2: Make the Sauce
In a small bowl, whisk together honey, soy sauce, lemon juice, and crushed red pepper flakes (if using). Stir until fully blended.
Step 3: Cook the Shrimp
Heat olive oil in the skillet over medium-high heat. Add shrimp in a single layer, season with salt and pepper, and cook for 2 minutes per side until pink and opaque.
Step 4: Add Garlic
Push shrimp to one side, add minced garlic to the other side, and sauté for 30 seconds. Don’t let it burn—it should be fragrant, not bitter.
Step 5: Coat in Sauce
Pour the honey-soy mixture into the pan, toss the shrimp to coat, and let it simmer for 1–2 minutes until slightly thickened.
Step 6: Serve
Garnish with chopped parsley and serve hot over rice, noodles, or vegetables.
Chef’s Secrets for Perfect Honey Garlic Shrimp
- Dry Shrimp = Better Browning – Always pat dry before cooking.
- Don’t Crowd the Pan – Cook in batches if needed for even searing.
- Garlic Timing is Key – Add garlic after shrimp starts cooking to avoid burning.
- Thicken Sauce if Needed – Simmer an extra minute or add a cornstarch slurry for a stickier glaze.
Serving Ideas
- Classic: Over steamed jasmine rice with a side of sautéed greens.
- Low-Carb: Serve over zucchini noodles or cauliflower rice.
- Asian-Inspired: Add sesame seeds and serve with stir-fried veggies.
- Mediterranean Twist: Serve over couscous with roasted vegetables.
- Party Appetizer: Skewer shrimp for easy finger food.
Recipe Variations
For Spice Lovers
- Add chili paste or sriracha to the sauce.
For a Tropical Twist
- Replace lemon juice with pineapple juice and add chopped fresh mango.
For Extra Crunch
- Top with toasted sesame seeds or crushed peanuts.
Storage & Reheating
- Fridge: Store in an airtight container for up to 2 days.
- Freezer: Not recommended—shrimp can become rubbery after thawing.
- Reheating: Gently warm in a skillet over low heat or microwave in short bursts.
Nutritional Info (per serving, approx.)
- Calories: 220
- Protein: 25g
- Fat: 10g
- Carbs: 13g
- Sugar: 9g
- Sodium: 450mg
FAQ – Your Questions Answered
Q: Can I use frozen shrimp?
A: Yes, just thaw completely before cooking.
Q: Can I make the sauce ahead?
A: Absolutely—store in the fridge for up to a week.
Q: Is this gluten-free?
A: Yes, if you use gluten-free soy sauce or coconut aminos.
Conclusion
In just 10 minutes, you can have a restaurant-worthy honey garlic shrimp dish on your table. It’s flavorful, flexible, and guaranteed to impress without stressing you out in the kitchen.
Whether you serve it over fluffy rice, toss it with noodles, or pile it on top of a fresh salad, this dish will quickly become one of your weeknight champions.
Printable Recipe Card
(Full recipe card with measurements and instructions would be here—formatted for easy printing and Pinterest sharing.)